There are two ways to make a medical animation video: do it yourself in seven steps (understand the concept, plan, design, animate with sound, edit, test and publish), or brief a professional studio in five. DIY suits simple topics and small budgets; a studio suits accuracy-critical content, series and fixed deadlines.
This guide walks through both methods step by step, with the software to use, what each step involves, and how to decide which route fits your project. If you are choosing tools first, see our comparison of medical animation software.
| Factor | DIY medical animation | Professional studio |
| Best for | Simple topics, internal use, one-off videos | Patient-facing or promotional content, series, deadlines |
| Cost | Software licences and your team’s time; free tools exist | From around $1,000 per minute for custom 2D at a small studio, more for 3D |
| Time | Weeks to months, including learning the tools | Typically four to eight weeks for a one to two minute 2D video |
| Skills needed | Scriptwriting, illustration, animation, sound, editing | Subject knowledge and clear feedback |
| Accuracy risk | Higher unless a clinician reviews each stage | Lower when review is built into the studio’s process |
Method 1: 7 Steps for DIY Medical Animation
Breaking the work into seven steps makes a DIY medical animation manageable, even for a first project.

1. Understand the Medical Concept and Your Audience
Learn the concept thoroughly, from current guidance and by talking to a doctor, nurse or pharmacist. Then decide who the video is for. Medical students can handle terminology; patients with no medical background need plain language and everyday comparisons. Knowing your audience is like choosing the right language to speak to someone.

2. Plan Your Video Content
Planning gives the video direction and saves rework later.
- Script: write in plain language, avoid jargon, and break the concept into small, ordered pieces. Read it aloud; one minute of narration is roughly 130 to 150 words.
- Storyboard: sketch each scene, even with stick figures, alongside the line of script it illustrates. This is your roadmap, and the cheapest place to fix mistakes.

3. Design the Visuals and Choose Your Tools
Choose a style first. 2D medical animation is quicker, more affordable and beginner-friendly; 3D offers lifelike depth but needs much more skill and time. Our 2D or 3D healthcare animation guide helps you decide. For whiteboard-style medical video, the short video below covers the four elements that make it effective.
Then choose software that fits your skills, budget and style:
| Software | Best for | Ease of use |
| Adobe After Effects | Motion graphics and compositing | Moderate |
| Moho | 2D character animation | Easy to moderate |
| Toon Boom Harmony | 2D hand-drawn and cut-out animation | Moderate |
| Pencil2D | Simple 2D animation, free | Easy |
| Autodesk Maya | Detailed 3D models | Difficult |
| Blender | Full 3D pipeline, free | Moderate to difficult |
| Cinema 4D | 3D motion graphics | Moderate |
Avoid choosing a tool because it is impressive. The best tool is the one your team can finish the project in. See the full software comparison for pricing models and free options.
Not sure which style suits your topic? Book a free 30-minute consultation and get a recommendation before you buy any software.
4. Animate and Add Sound
Animating
Import your artwork into the software and animate scene by scene, following the storyboard. Set keyframes for the start and end of each movement and let the software fill in between. Time each movement to the narration so the viewer sees a structure at the moment it is named, and use smooth transitions to avoid jerky motion.
Sound Design
Record the voiceover before final animation timing. Keep background music subtle and calm for most medical topics, or more upbeat for recovery stories, and never louder than the narration. Sound effects such as a heartbeat can add realism, but use them sparingly.

5. Edit and Finish
Assemble the scenes and voiceover in editing software, add music, sound effects, transitions and captions, and keep effects restrained so they do not distract. Watch the full video several times and fine-tune pacing. For the principles behind each discipline, download The Essential Guide to Medical Animation, a free ebook.
6. Test and Get Feedback
Before release, ask a clinician to check accuracy and show the video to people like your target audience. Ask whether it made sense, what they would do next, and whether any moment confused or worried them. Fix those moments before you publish.

7. Publish Your Video
Decide where your audience will watch: a website, patient portal, learning platform, social media or a conference screen. Export in the format and aspect ratio each platform needs, add captions, and keep a master file so you can update the video when guidance changes.
Method 2: Work with a Professional Medical Animation Studio
Hiring a studio saves your team from learning the tools and usually produces a more polished, accurate result. The process has five steps.
| Step | What to do |
| 1. Define your objectives and audience | Agree the key message, the audience, the budget and the deadline |
| 2. Research and select a studio | Compare portfolios, review processes and pricing |
| 3. Share your vision and materials | Provide scripts, research, references and brand guidelines |
| 4. Review the animation process | Approve script, storyboard and drafts at agreed stages |
| 5. Finalise and distribute | Approve the final cut, receive files, publish |
Step 1: Define Your Objectives and Audience
Clarify the main message and the one thing viewers should do afterwards, identify the audience, whether doctors, nurses, patients or the public, and set a realistic budget and timeline.

Step 2: Research and Select a Reliable Studio
Shortlist studios whose portfolios match your subject and format, then compare how they review accuracy and how they price. The video below covers eight factors to check, and our list of medical animation companies compares ten studios side by side.

Step 3: Share Your Vision and Materials
Meet the studio to discuss objectives, audience and ideas, and send everything you have: scripts, storyboards, research papers, illustrations and brand guidelines. A good studio will help refine the script and build the storyboard with you, and agree the timeline, budget and how you will communicate.

Step 4: Review the Animation Process
Approve the script and storyboard before animation starts, then review drafts for accuracy. Consolidate your team’s feedback into one list per round; scattered comments are the most common cause of delays. Our production process shows where each review sits.

Step 5: Finalise and Distribute Your Video
Give final approval, receive the files in every format you need, including captions and any cut-down versions, and publish where your audience will see them.

When DIY Stops Making Sense
DIY is tempting on a tight budget, but the learning curve is steep and the accuracy risk sits entirely with you. Consider a studio when the video is patient-facing or promotional, when you need a consistent series, when the deadline is fixed, or when nobody on the team can review both the medicine and the animation.

Compare DIY with a studio quote
Enter the style, runtime and complexity you have in mind and see what a studio would charge, before you commit your team’s time.
Open the animation cost calculator About two minutes. No email required to see the estimate.Why F. Learning Studio for Medical Animation Videos
Medical Content and Animation Design Since 2016
F. Learning Studio has helped healthcare professionals, educators and businesses communicate medical information clearly since 2016, through our medical animation services. Before production, we offer:
- A free consultation and animation demo, so you can see your own subject animated before you commit.
- Content structuring, to turn raw training or clinical material into a clear, animation-ready script, even if you are starting from notes.

Trusted by Healthcare Organisations
1. SimpleNursing
The problem. SimpleNursing, a US nursing education company focused on NCLEX preparation, needed more engaging online courses in a crowded post-pandemic market. Talking-head video alone was not enough.
The approach. We analysed the scripts, identified the key visuals, and built a library of custom assets, including nurses, organs and hospital settings, in a clean style that matched the brand. That library let us produce 600 minutes of animation in nine months.
The outcome. According to the SimpleNursing case study, the animated courses have reached more than 200,000 learners, and SimpleNursing has grown past 500,000 social media followers.

2. The NHS
The NHS needed a more engaging way to teach children and families about hypertension, because leaflets and verbal explanations often fell short. We produced animated videos covering the causes of high blood pressure, how it is measured, and how treatment and lifestyle changes manage it, using analogies and positive storytelling suited to families with varied health literacy.
A Range of Styles at Competitive Rates
We produce 2D medical animation and 3D animation, and as a Vietnam-based studio our rates are typically around 30% below comparable US-based studios. Common styles for medical projects:
- Motion graphics: for disease mechanisms, data and device features.
- Character animation: for patient stories and training scenarios.
- Frame-by-frame animation: for detailed, hand-drawn sequences such as procedures or medication effects.
Where to Start
If the topic is simple and the audience is internal, the seven DIY steps and a free tool may be all you need. If the video is patient-facing, promotional or part of a series, compare the cost of a studio before committing your team’s time, and make sure a clinician reviews the script whichever route you take.
Rather not learn the software?
Tell us the topic, the audience and the deadline. In 30 minutes you will get a recommended style, a scoped figure, and a production timeline with medical review built in.
Producing healthcare animation since 2016 · 5.0 rating on Clutch · Trusted by the NHS, SimpleNursing and IntelyCare
- WhatsApp: (+84) 378 713 132
- Email: [email protected]
- Fanpage: https://www.facebook.com/f.learningstudio
- LinkedIn: https://www.linkedin.com/company/f-learning-studio/
FAQs About Making Medical Animation Videos
How do you make a medical animation video?
Either do it yourself in seven steps, understanding the concept and audience, planning the script and storyboard, designing the visuals, animating with sound, editing, testing and publishing, or hire a studio and follow five steps from brief to final files.
What software do I need to make a medical animation?
For 2D, Adobe After Effects, Moho, Toon Boom Harmony or the free Pencil2D. For 3D, Autodesk Maya, Cinema 4D or the free Blender. You will also need editing and audio software for post-production.
How long does it take to make a medical animation video?
A studio typically produces a one to two minute 2D medical animation in four to eight weeks. DIY projects often take longer, especially if the team is learning the software at the same time.
How much does it cost to make a medical animation?
DIY costs software licences and your team’s time, and free tools exist. A studio typically charges from around $1,000 per minute for custom 2D at a small studio to $8,000 or more at a large one, and $5,000 to $25,000 per minute for detailed 3D.
Can I make a medical animation for free?
Yes, with free tools such as Pencil2D for 2D and Blender for 3D. The trade-off is time: learning the tools, illustrating and animating takes far longer than with a studio, and accuracy still needs a clinician’s review.
Who should check a medical animation for accuracy?
A qualified clinician or subject-matter expert should review the script, the storyboard and the final cut. Reviewing before animation starts is much cheaper than correcting finished scenes.
Read more:
- Medical Animation Software Compared
- Top 10 Medical Animation Companies
- Medical Animation Cost Guide
- How to Create a Surgery Animation Without Disturbing Viewers
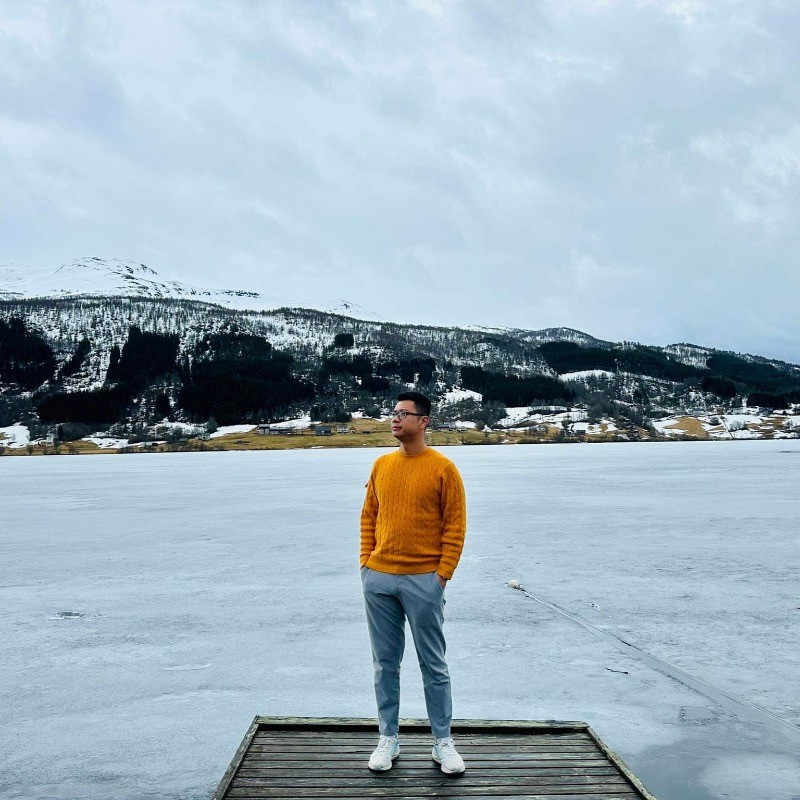
Sean Bui, the founder and creative director of F. Learning Studio, is a respected leader in the e-learning and multimedia production industry.
With over 10 years of experience, he has dedicated his career to helping organizations create engaging and impactful learning experiences. Under his leadership, F.Learning Studio has grown into a trusted partner for organizations in the education, healthcare, and corporate training sectors, producing over 2,000 minutes of educational animation.
Sean’s expertise in translating complex concepts into compelling animated videos and interactive learning experiences, as well as his active involvement in the e-learning community, have earned him a reputation as a trusted partner and thought leader in the field of educational technology.